The Shared Domain Problem
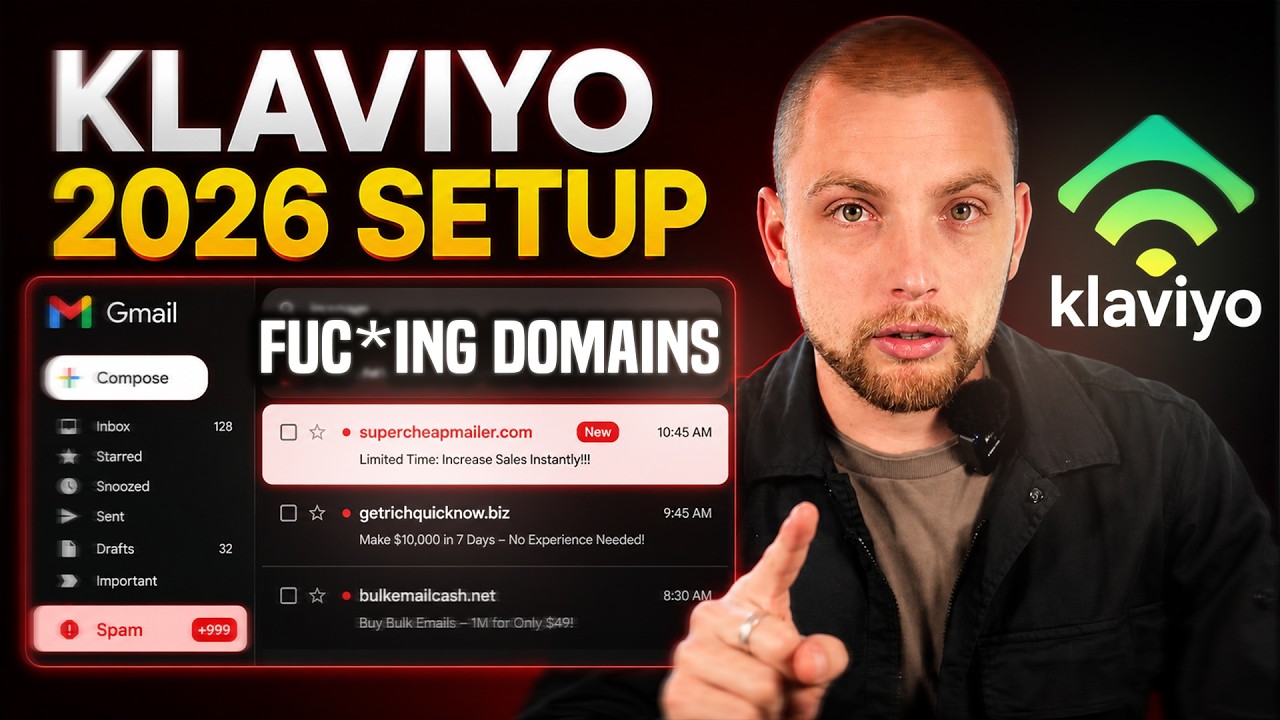
This is easily the most common problem I see when auditing email accounts for established ecommerce brands. They are sending emails on a shared domain rather than their own dedicated infrastructure. If you look at your inbox and see that tiny tag saying sent via klaviyomail.com next to your brand name, you are sharing sender reputation with strangers.
First of all, it looks sloppy. Customers notice it, and mailbox providers notice it even more. When you send from a shared pool, your deliverability is tied to everyone else on that exact same server. If another brand decides to blast unengaged contacts or purchase a list, your inbox placement suffers right alongside theirs. That is a massive mistake.
Switching to a dedicated sending domain gives you full control over your reputation. You build trust directly with Gmail, Yahoo, and Outlook under your own brand.
Starting the Setup Inside Klaviyo
Getting your dedicated sending domain configured takes less than 15 minutes inside Klaviyo. You do not need an engineering degree to sort it out, you just need access to your domain provider.
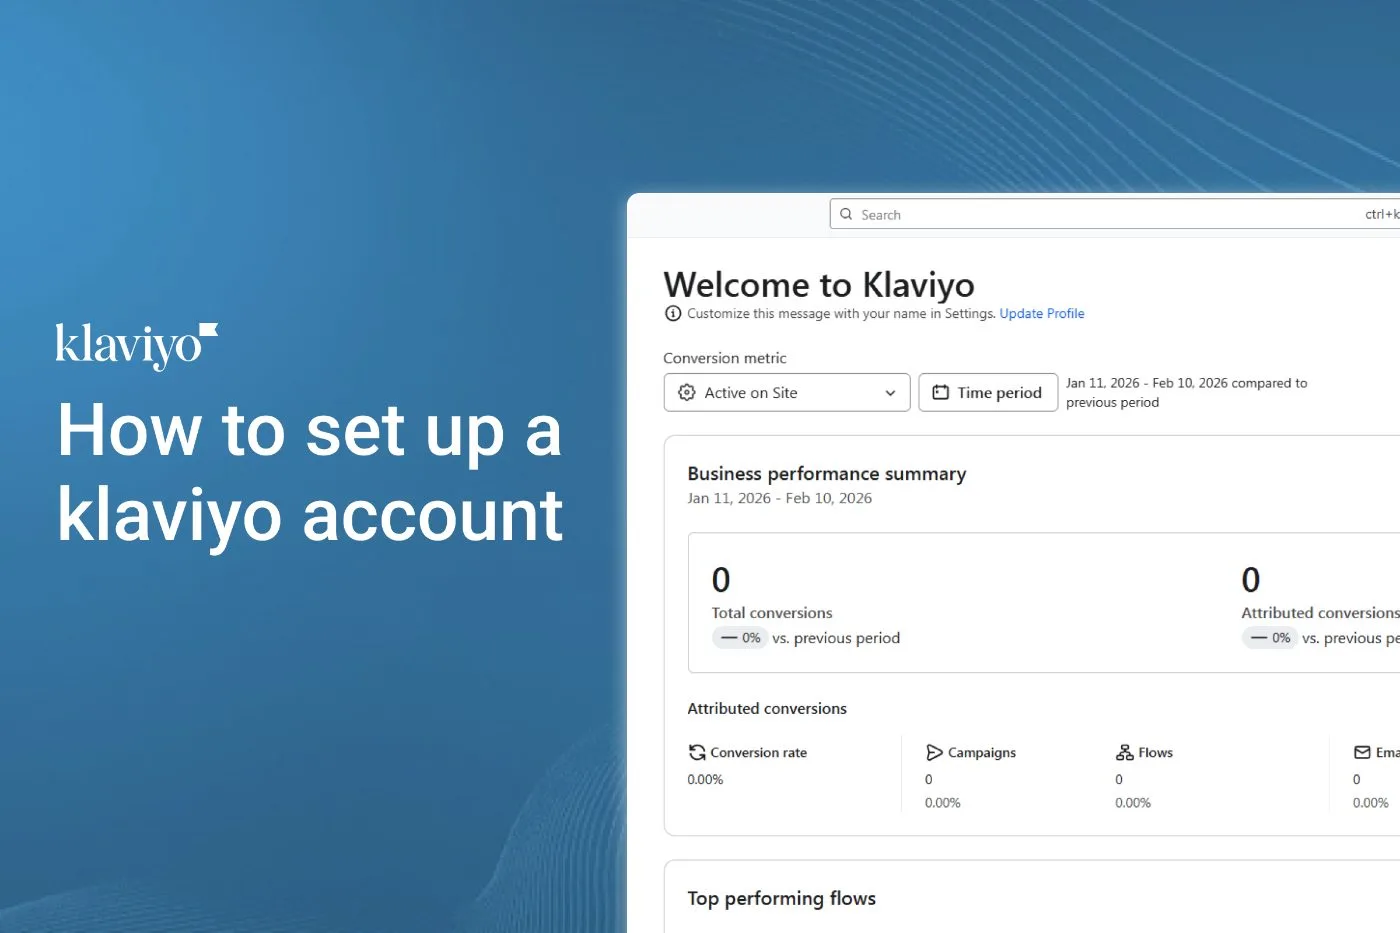
To get started, log into your Klaviyo dashboard and click Settings in the bottom left corner. From there, navigate to Email and select the Domains tab. You will see a section labelled Dedicated Sending Domain with a button that says Get Started.
Click that button, and Klaviyo will ask you for two key pieces of information:
- Root Domain: This is your primary website address without the https prefix (for example, in-box.co.nz).
- Sending Domain / From Address: Choose the prefix you want to send from, such as hello, info, contact, or your own name. I prefer using my personal name for agency outreach, so I enter gavin.
Once you enter those details and hit continue, Klaviyo will automatically generate the required DNS records for you.
Locating Your Domain Host
Klaviyo will display 4 DNS records that need to be added to your domain registrar. You cannot complete the setup entirely within Klaviyo, you have to push these records live where your domain is hosted.
Log into wherever you originally purchased your domain name. In my case, I use GoDaddy, but you might be using Cloudflare, Namecheap, Google Domains, or Wix. Head to your domain management dashboard and look for the option labelled Manage DNS, Edit DNS, or DNS Settings.
This area contains all the routing instructions for your domain, from your website hosting to your Google Workspace setup. Be careful not to delete any existing MX or A records while you are in here.
Adding the DNS Records
In your DNS manager, click the button to add a new record. Klaviyo will give you specific types of records to create, which are typically CNAME records alongside custom routing records.
For each of the 4 records Klaviyo generates, follow this straightforward process:
- Select the record type (usually CNAME).
- Copy the Host or Name value from Klaviyo and paste it into your registrar.
- Copy the Value or Points to string from Klaviyo and paste it into the destination field.
- Save the record and repeat the process for all remaining rows.
Double-check that you have copied the entire string without adding any trailing spaces. A single missing character will prevent the domain from authenticating properly.
Validating Your Records
Once you have added all 4 records inside your domain host, switch back to the Klaviyo tab. Click the blue Validate button in the bottom right corner.
DNS changes can sometimes take anywhere from 15 minutes to roughly 24 hours to propagate across global servers, though modern hosts usually complete the check almost instantly. When the validation succeeds, Klaviyo will show a green confirmation badge on your domain page.
From this point forward, every campaign and flow you send will show your clean, branded domain in the inbox header. The clunky via tag disappears entirely, and mailbox providers will attribute your positive engagement metrics directly to your brand.
Final Thoughts
Setting up a dedicated sending domain is not optional if you are serious about email deliverability. It separates your sender reputation from bad actors and gives your brand a polished, professional presence in the inbox. Take the 15 minutes to add those DNS records today.
Need Help Configuring Your Klaviyo Account?
If you want to make sure your email infrastructure, tracking, and authentication records are configured properly from day one, explore our Klaviyo account setup service and let our team handle the technical heavy lifting.